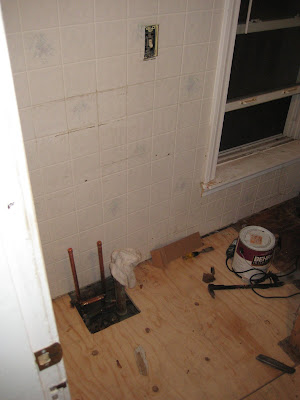
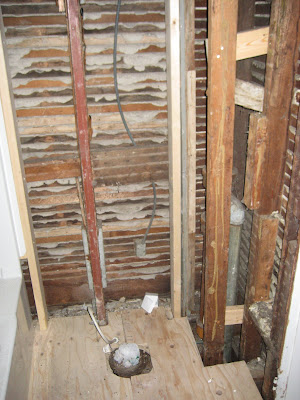
New hardware was also installed with the new tub. A new 2X4 was installed to support the tubs wall.

 Eric also removed the old maze of copper, replaced the old inlets with a new copper and soldered on temporary caps. After the vanity is installed, Eric will return to install the countertop and solder on new faucets.
So here is the next item on the list of things to do. Remove the crappy plastic paneling and investigate the opposite side.
 After removing the plastic paneling, I found that the insulation was an old R-9. But look pretty old. I realized that the wiring was not up to code. Not having any wiring connections in a junction box. It was pretty evident with the exposed wire coming out of the plastic paneling. I also removed the ceiling drywall. I found what looked to be a squirrel’s nest. I removed all of the squirrel’s nuts and leaves.
 I removed all of the old wiring plugs and switches. Additionally, the old housings were metal and poorly installed, so I replaced them also. A new metal junction box was installed, for the new 4 bulb light fixture. Additionally a new GFI was also installed.
 After installing the switches and GFI plug, I started to install the new insulation. R-15 and R-13 insulation was used for the walls. Both types were mixed. Basically I had extra insulation in the basement, so I used it up.


